Your PDF Loses 40% of Its Content in NotebookLM. The Fix Takes 5 Minutes.
Tables, headers, footnotes — all destroyed when you upload raw PDFs. Convert to Markdown first with free tools. Your AI responses transform overnight.
Raw PDFs can lose up to 40% of their structure when uploaded to NotebookLM — tables, headings, and layout get garbled, degrading answers. Converting to Markdown first (with free tools like Marker, pdf2md, or Gemini) preserves structure, so NotebookLM parses the content accurately and responds far more reliably.
TL;DR — Your 300-page PDF loses 40% of its structure when uploaded raw to NotebookLM. Convert to Markdown first using free tools (Marker, pdf2md, Gemini) and get dramatically better AI responses. Step-by-step guide. Updated June 2026.
Updated June 2026. Maintained by a small team of AI super-users — no affiliate relationships. About this guide →Changelog
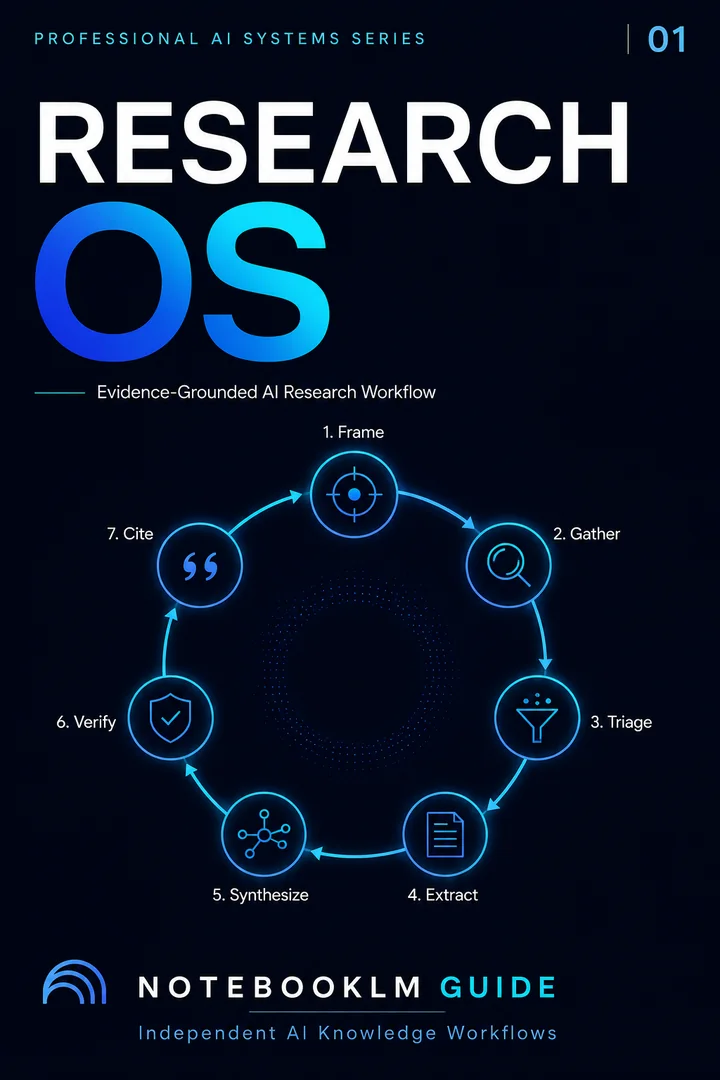
Research OS
A traceable, source-grounded research system — from question framing through verified, citation-ready synthesis.
- Reusable, source-grounded workflow architecture
- Complete prompt library with implementation steps
- One-time purchase · permanent access
What NotebookLM actually sees: PDF vs Markdown
PDFs encode visual layout, not semantic structure. A heading in PDF isn’t tagged as a heading — it’s just text rendered in a larger font. A table isn’t structured data — it’s rectangles with text inside. When NotebookLM ingests a raw PDF, it tries to reconstruct the structure. The result is lossy.
Headers: Lost or merged with body text
Tables: Parsed as flat text, cell values jumbled
Footnotes: Injected randomly into paragraphs
Multi-column: Left/right columns interleaved
Images: Completely invisible to AI
NotebookLM sees ~60% of your content
Headers: ## Chapter 3 — explicit hierarchy
Tables: | Col A | Col B | — structured, queryable
Footnotes: Cleanly positioned after paragraphs
Multi-column: Linearized in reading order
Images: Described in alt-text or extracted
NotebookLM sees ~95% of your content
## Section Title. That semantic clarity is why NotebookLM gives dramatically better answers from Markdown.Who becomes a power user with this workflow?
For Students
Uploading 300-page PDFs for exam prep? After conversion, NotebookLM finds specific table values, traces arguments across chapters, and generates quizzes from properly parsed content.
See the workflow →For Researchers
Academic papers with complex tables, equations, and multi-column layouts suffer most from raw PDF upload. Marker preserves all of this. Your literature review notebooks become dramatically more useful.
See tool recommendations →For Professionals
Financial reports, compliance documents, technical specs — all table-heavy, all degraded by raw PDF upload. Clean Markdown input means accurate data extraction.
See the workflow →The 5-step conversion workflow
Step 1: Assess your PDF
Not all PDFs are created equal. Before choosing a converter, answer three questions:
Is it text-based or scanned? Select text in the PDF. If you can highlight and copy words, it’s text-based. If selecting highlights the whole page as an image, it’s scanned — you’ll need OCR first.
Does it have tables? Tables are where PDF-to-text conversion breaks hardest. If your doc has data tables, use Marker or Docling (not simple web tools).
How long is it? Under 100 pages: any tool works. 100–300 pages: local tools recommended. 300+ pages: split first, then convert sections.
Step 2: Choose the right tool
Here’s the decision in one sentence: Simple PDF? Use pdf2md (web). Complex PDF? Use Marker (local). Scanned PDF? OCR first, then convert.
Start Here · Web-Based
Drag-and-drop your PDF, get Markdown instantly. No account needed. Best for text-heavy documents. This is where most people should start.
Best Quality · Local Python
The gold standard in 2026 benchmarks. Handles tables, equations, code blocks, images, headers/footers removal. Runs locally with PyTorch.
AI-Powered · No Install
Upload your PDF to Gemini and prompt: “Convert to clean Markdown.” Works well for medium docs. Free tier handles most sizes.
Complex Docs · Local
Strong for financial/academic docs with complex tables. Pairs with local LLMs for even better Markdown output with image descriptions.
Lightweight · Python Library
Simple Python library that converts PDF (and many other formats) to clean, LLM-ready Markdown. Minimal dependencies.
Fast · Table Specialist
Fast extraction optimized for table-heavy documents. Good middle ground between web tools and full Marker setup.
Step 3: Convert
For pdf2md (web): Go to pdf2md.morethan.io. Drag your PDF. Click download. Done in 30 seconds.
For Marker (local): Three terminal commands:
For Gemini (AI-powered): Upload the PDF to Gemini and use this prompt:
Step 4: Quick-clean (2 minutes)
Open the .md file in any text editor (VS Code, Obsidian, even Notepad). Scan for: broken tables (fix the | pipe characters), artifact text (headers/footers like “Page 47 of 312”), and garbled sections (multi-column text that merged incorrectly). Most files need zero fixes. Complex academic papers might need 2–3 minutes.
Step 5: Upload to NotebookLM
Build the workflow before buying a package
Get the AI Research Starter Kit: four workflows, 13 ready-to-use prompts, and a 7-day plan.
NotebookLM supports .md files natively. Drag and drop — or use Google Drive sync. The Markdown file typically processes faster than the original PDF because it’s smaller and more structured. After upload, run the Source Quality Audit prompt below to verify everything parsed correctly.
Alternative: Web archive format (MHTML)
If your PDF is web-like or you want to preserve visual layout more than structure, save as a web archive. In Chrome: open the PDF, Ctrl/Cmd + S, choose “Webpage, Single File” (.mhtml). Upload the .mhtml directly to NotebookLM. This preserves more visual fidelity but may not parse as cleanly for deep analysis.
When to use MHTML over Markdown: Heavily visual documents (design portfolios, brochures) where layout matters more than text extraction. For anything analytical — textbooks, reports, papers — Markdown wins.
Once your Markdown sources are uploaded, these prompts verify quality and extract maximum value.
Become the power user who optimizes sources instead of blaming the AI
- Markdown is token-efficient. PDF formatting characters waste tokens. A 300-page PDF converted to Markdown is typically 30–40% smaller in token count — meaning NotebookLM can process more of your actual content.
- Structure enables reasoning. When NotebookLM sees
## Chapter 3: Market Analysis, it understands hierarchy. When it sees a raw PDF, it guesses. Explicit structure produces better citations, better summaries, and better answers. - Tables become queryable data. A Markdown table is structured: NotebookLM can extract specific cell values, compare columns, and perform analysis. A PDF table parsed as text is just numbers mixed with words.
- This layer amplifies every prompt you use. Our Exam Prep, Research OS, and Content prompts all produce better results when sources are clean Markdown.
Ready to level up your prompts too? ↓
Now that your sources are optimized, unlock the prompts that extract maximum value from them.
1,000+ prompts across exam prep, research synthesis, content creation, and multi-AI workflows. Each prompt engineered for NotebookLM’s source-grounded architecture.
Exam Prep Bundle (separate) — $24.99 · Sovereign OS (four core systems) — $69.99
Explore the Research Prompt Package See whether you need one OS or the complete system →Frequently asked questions
Does NotebookLM support Markdown files natively?
.md files as sources, just like PDFs, Google Docs, or web URLs. Markdown files typically process faster and more accurately because the structure is already explicit.How big can my files be?
What about scanned PDFs (image-based)?
Do I need Python to use Marker?
pip install marker-pdf, then run. If you’re not comfortable with terminal, use pdf2md.morethan.io (web) or Gemini (AI) instead.Can I use Gemini itself to convert PDFs?
Why not just use Google Drive / Google Docs upload?
When should I use MHTML instead of Markdown?
30 copy-ready AI prompts · one PDF
Thirty prompts you can paste today, sorted across research, content, Studio outputs and multi-AI work. Instant access. No credit card.